 Heliodons Inspector
Heliodons InspectorManages the calculations for sunshine according to the position of the sun, determined by the place, time and type of sunshine. A heliodon may be associated with one or more viewpoints.


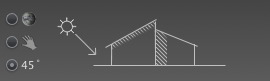
Three options for settings: Location  , Manual
  or 45°
  .
.
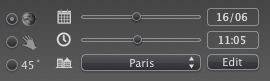
 choose a location in the list of cities.
If the city is unavailable, click on the Edit... button.
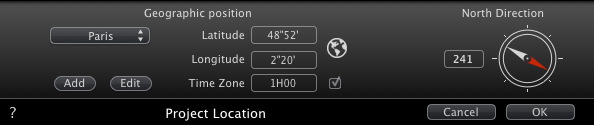
Clicking on Add button creates a "New City".
To add a new city, enter the Latitude, Longitude and Time Zone. Check the DST box to enable daylight saving time (summer time).
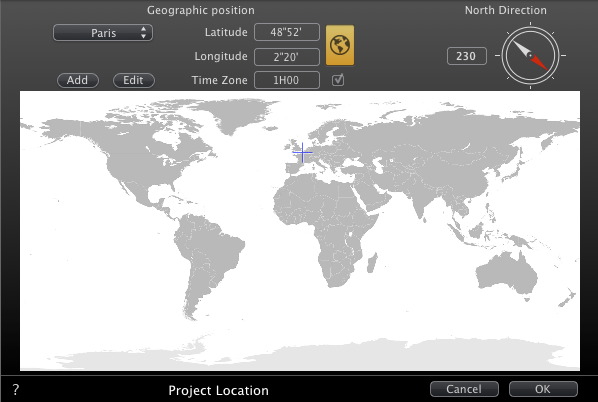
The location can also be defined graphically by clicking on ![]() to open the planisphere. The blue cross defines the current location; clicking on the planisphere will define the new location.
to open the planisphere. The blue cross defines the current location; clicking on the planisphere will define the new location.
Either select the red arrow of the compass and move the cursor around to define a new position. Or type the value in degree in the numeric field.
When the compass may be edited, it is also visible in the Preview window.

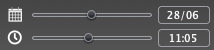
Edit the date (dd/mm) and time (hh:mm) or move the associated sliders.
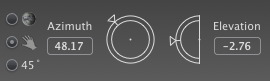
Azimuth and Elevation use the circular cursors to set the positions in degree. You can also type a value in degrees in the numeric fields.
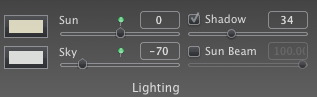
Move the slider or type in a percentage value in the field. Clicking on the red diode resets the power to its initial value.
 NB: Does not tint the sky.
NB: Tints the sky only but not the elements of the scene.
The heliodon can cast shadows. The slider enables you to vary the shadows from hard to soft.
Move the slider or type a value in the numeric field to vary the quality of the shadows from hard to soft .
Uncheck the box to deactivate the shadows.
Gives a volumetric light to the rays. The slider enables you to define the volume of the rays.
Move the slider or type a value in the numeric field to vary the power of the rays.
Uncheck the box to deactivate the rays.
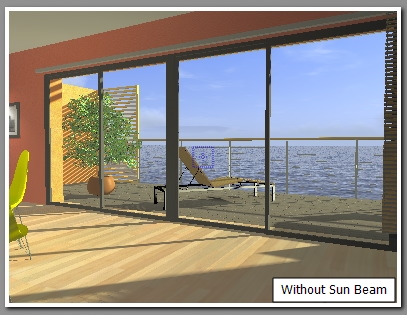

NB: The sun must be placed in the camera field for the rays to take effect.
Choose the effect: Click on one of the four thumbnails.
Check the box to activate/deactivate the effect.
Move the power slider or type in a value between 0 and 100%.
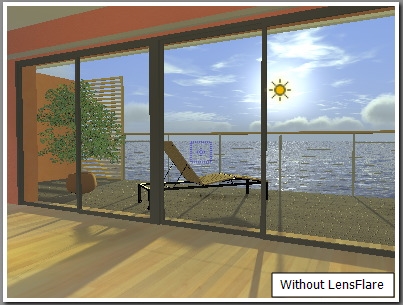
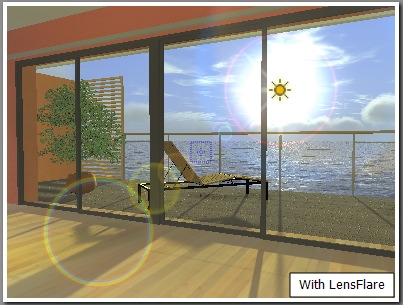
NB: The sun must be placed in the camera field for the lens flare to take effect.

Allows you to activate effects such as: Pollution, Clouds and Fog, and to mix the color of the sky.

There are four types of cloud: Cirrus, Stratus, Cumulus and Cirro-Cumulus.
 to vary the distribution of the clouds or enter a value in the numeric field.
 If the box is checked, the sun remains behind the clouds. The sun rays will not be projected.
Set the fog parameters.
Click  then, in the Preview window, click on the point from which the fog will be able to be perceived, or enter a numeric value in the field.
Visibility distance begins at the starting distance. It provides the fog with a volumetric effect.
Altitude takes effect from bottom to top. It depends upon the starting distance and the visibility distance.
Used to assign a color to the fog.
Check the box to activate the effect.
Click on the colored box to choose a color.
The color is mixed with the calculated sky color.
![]()
Used to animate the movement of the wind along with its direction.
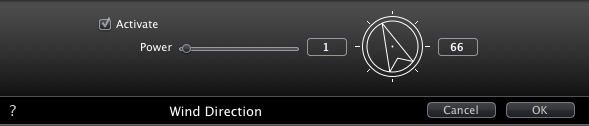
Check the box to activate/deactivate the effect.
Movement speed values range from 0 to 100.
The direction is specified using the circular slider, the direction being relative to the project North (see 2D view).
NB: Effective only in Artlantis Studio in animation mode
 Example: Editing a 3D Sky
NB: Editing the scene information - such as the infinite ground, movement of the origin, re-dimensioning of the model and the coordinates - may be accessed via the Window menu.

|
Artlantis User Guide:Heliodons Inspector |
|
© 2013 Abvent www.artlantis.com |