 Edit Alpha Channel
Edit Alpha ChannelClicking on the button Edit Alpha Channel, available in the Foreground parameters, opens the dialog.
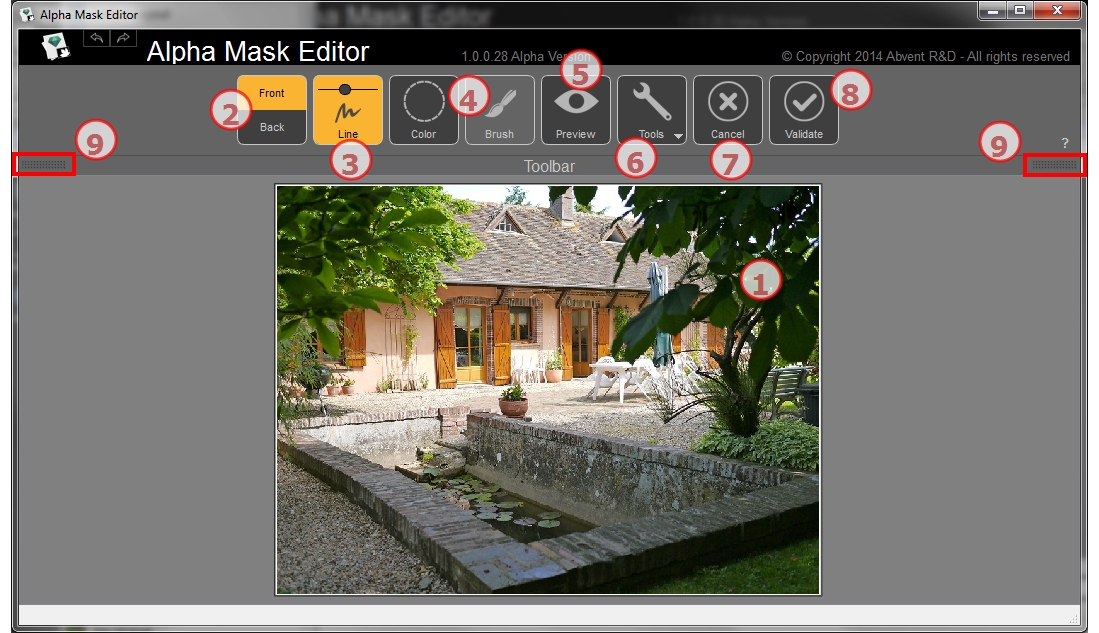
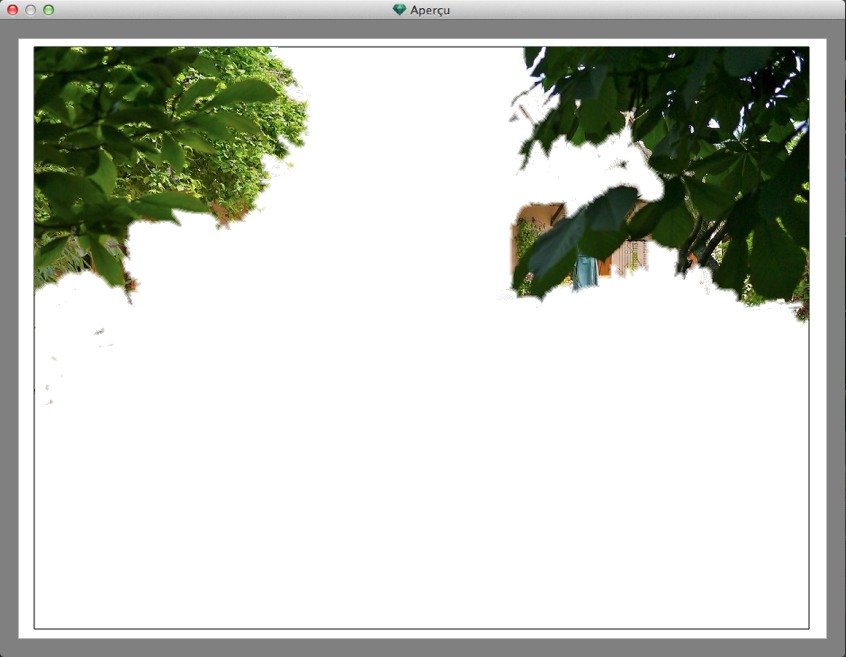
Displays the image with the result of the applied commands.
Shortcuts
Choose the final mask area to keep between the front  and the back
 . The area is deleted in the final mask.
Click on Draw the Markers for the front and back areas, depending on the Front and Back mode. Click and drag the mouse to draw markers. Use the slider in the button to adjust the thickness of the marker. The best areas corresponding to the makers are defined. A front color retains its original color whereas a back color has a colored mask.
Example:
You want to add the left and right branches to the foreground, but the keep the rest in the background. You draw two markers as near as possible to the borders for a better result...
+

Makers have been added to the front.
...and in back mode, one marker is drawn for the background.
+
Use the cursor inside the button to set the thickness of the marker  .
.

Back markers added.
Click on the Draw the Color tool  , once selected
  .
.
If in Line selection, Front was selected, the foreground appears in the original color and the background is masked in red.

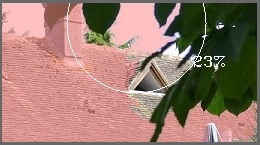
In this mode, the created area is based on the clicked pixel. The further you are from the clicked pixel, the more the accepted colors differ from the color of the clicked pixel. This depends on the selection mode: Front or Back.
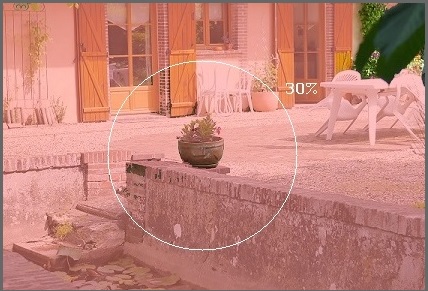
Only the pixels adjacent to the clicked pixel are selected, if they match the color criteria.
If you need to add non-adjacent pixels, hold down the Alt key after clicking on a pixel and drag the mouse. This sets the range of valid colors and only pixels inside the circle will be added.
 NB: If no marker has been defined and the Circle tool is selected, clicking on the image will make it be considered as a background and it will become colored in red.
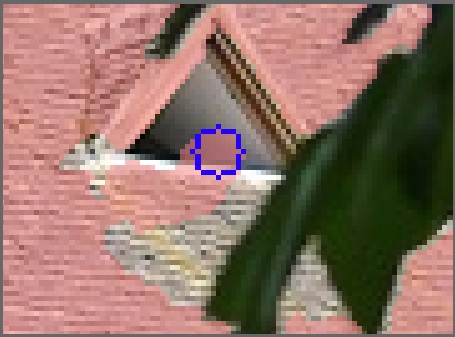
The brush is available only in color base selection. It is used to soften the front or back area.
Click on the Brush tool  . Once selected, paint on the image.
Use the cursor inside the button to set the thickness of the marker  .
.
Click on the Preview icon  to check the result.
Sometimes, for better visibility, it can be useful to change the color of the background. Tools icon. Background.

To set color of the mask or the background, to toggle between the front and back colors of the mask or to reset the image to how it was.
Clicking on the Tools icon ![]() displays the pop-up menu:
displays the pop-up menu:

Mask: click to edit the color. This opens the system color picker. The icon will take the color of the mask.
Reverse: toggles the mask between the front and back.
Revert: reopens the file as it was previously, canceling all the changes made.
Background: click to edit the color. This opens the system color picker. The icon will take the color of the background.
Click on the icon  to quit the Alpha Mask Editor. A dialog asks you if you want to keep the image treatment or cancel it.
Clicking on the icon  confirms the image treatment and quits the dialog.
To obtain more display surface, click to open/close the tools drawer.
 Example:
|
Artlantis User Guide:Edit Alpha Channel |
|
© 2016 Abvent www.artlantis.com |