 Step 2 - Setting the Tag in the Preview Window
Step 2 - Setting the Tag in the Preview Window
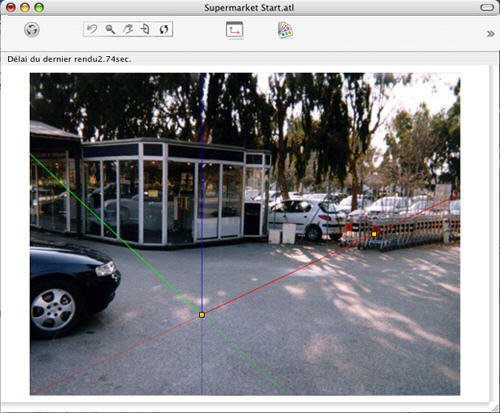
Place the origin of the axis marker on the photo, then pivot the red, green and blue axes one by one.
 NB: Make sure that the positions of the axes in 2D View and Preview do not conflict.
In the insertion dialog: Depending on the placement of the axes in preview, choose one of the following two viewing options:
The Y axis moves away from  or towards
  the camera.
Determine the axis  that will serve as a reference for sizing the 3D model in relation to the background image. Then, in the Preview window, adjust the size to the model by moving the yellow handle
  . Do the same in 2D View.
In the Preview Window: The magnifying glass helps you place the axis marker precisely on the background image.
To activate the magnifying glass, turn the mouse wheel. Each incrementation increases the zoom from 2x up to a maximum of 8x.
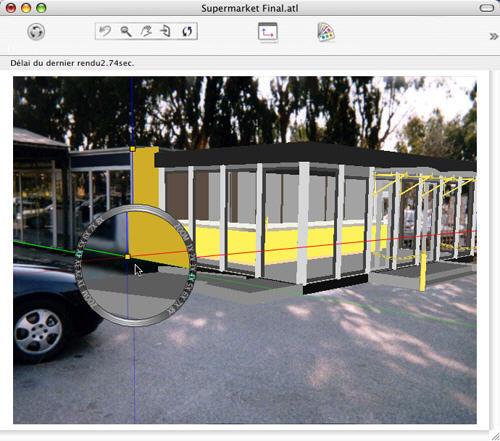
Step 3: Running the Calculation
|
Artlantis User Guide: Step 2 - Setting the Markers in Preview |
|
© 2009 Abvent www.artlantis.com |