Working with Textures in Preview
Working with Textures in Preview|
Display |
State or Action |
Comments |
|---|---|---|
|
|
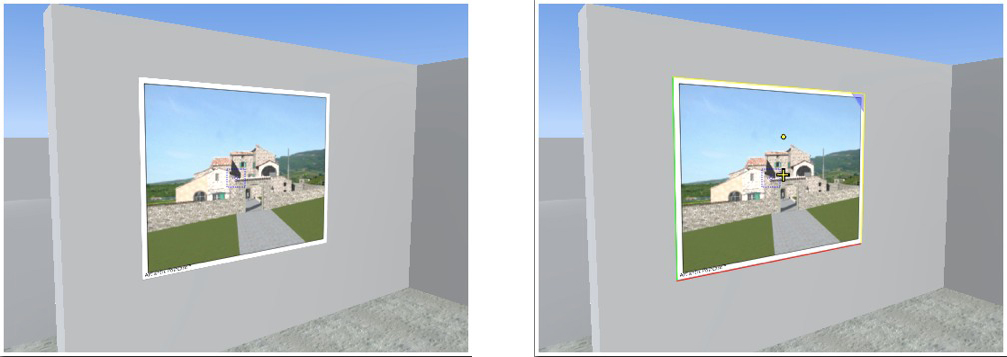
Texture deselected/selected. |
When selected, represented by a yellow cross anchor point, a yellow point (rotation), a rectangle with multi-colored sides and a blue corner triangle (resize). When you see only the cross anchor, drag it to display the other handles. |
|
|
Move the Texture freely. |
|
|
|
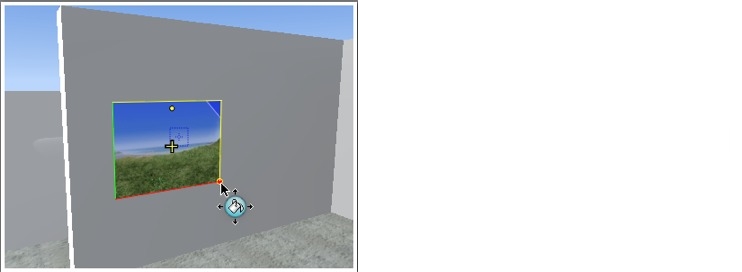
Move the texture with one corner of the multi-colored rectangle. |
By moving the mouse over the corner of the rectangle, a red snap point is displayed. A snap point to edge can be activated by holding down the Shift key (snaps only on meshes, not onto the bounding box). |
|
|
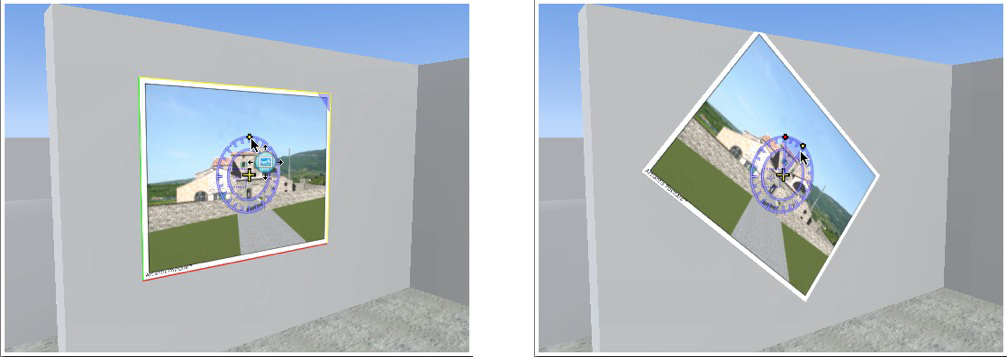
Move the Texture in one direction. |
|
|
|
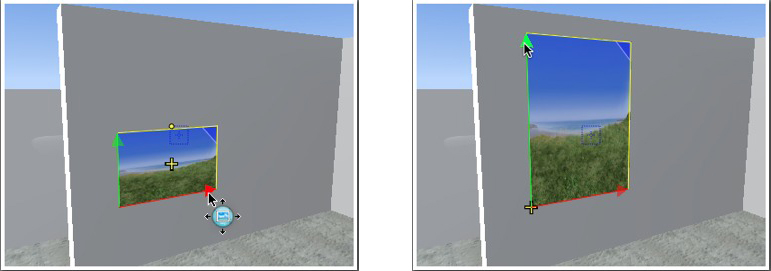
Rotate the Texture. |
|
|
|
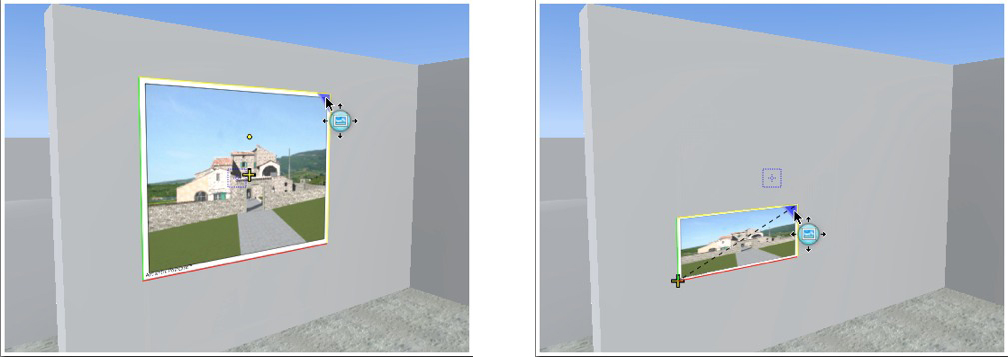
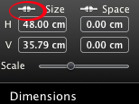
Resize the texture when linked horizontally/vertically (HV). To be defined in the Shaders Inspector Texture Dimensions.
|
|
|
|
Resize the texture when not linked horizontally/vertically (HV). To be defined in the Shaders Inspector Texture Dimensions.
|
or
|
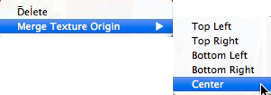
Deletes the current texture.
Allows you to reset the position of the texture according to its anchor point or to set the position of a linked texture.
Set the texture at a pre-defined position: Top Left, Top Right, Bottom Left, Bottom Right or Center.
 NB: This works on a single texture and also when two or more are linked.
 Example
|
Artlantis User Guide:Working with Textures in Preview |
|
© 2016 Abvent www.artlantis.com |